

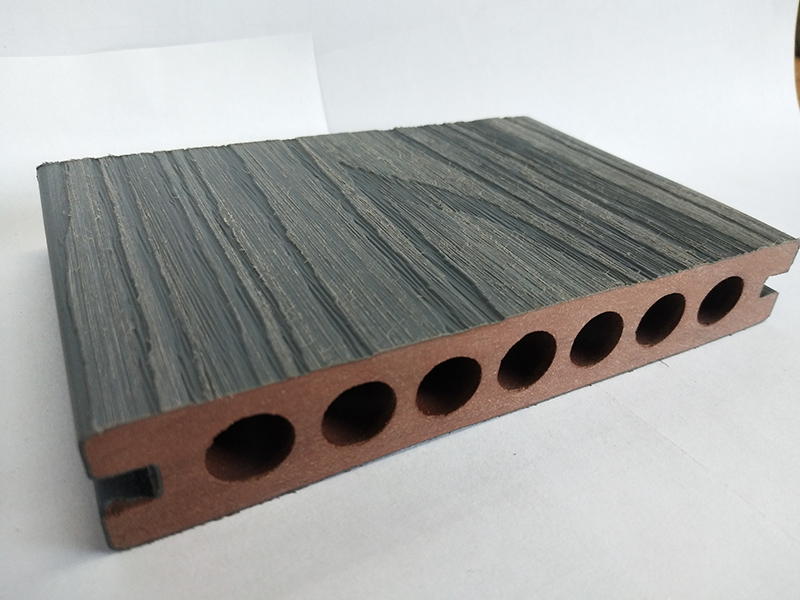
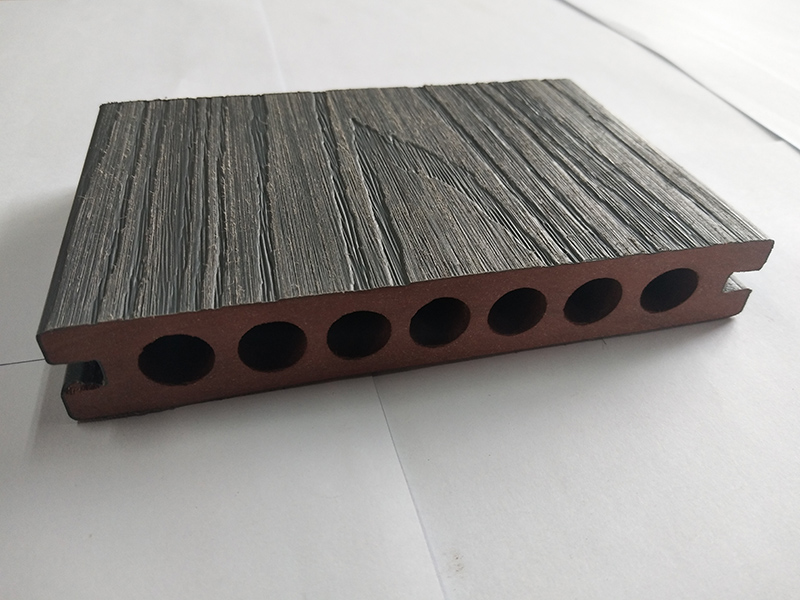
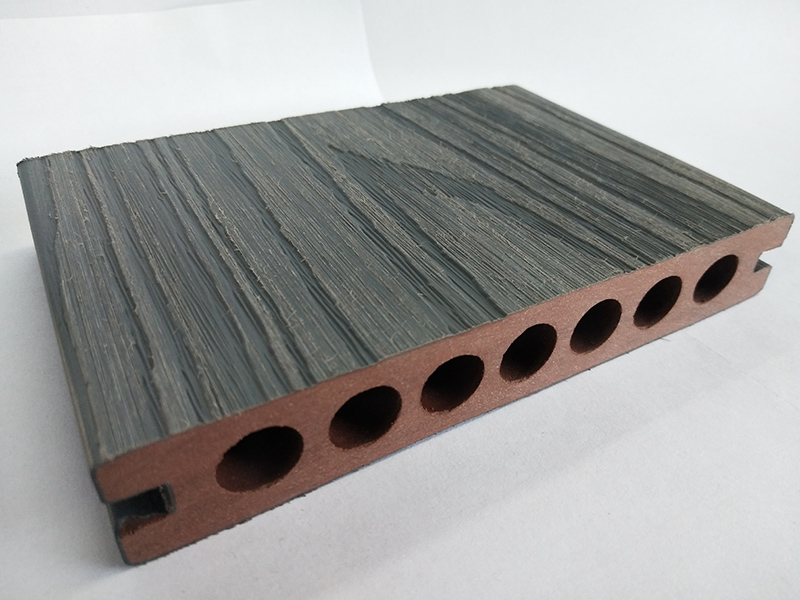
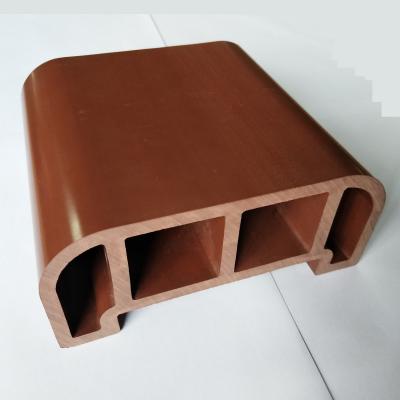
Transparent Hole Floor Coextrusion
The installation is convenient, simple and labor-saving, and the later adjustment is as convenient as disassembly; It is not afraid of rain immersion and insect and ant bites. It has various colors, green environmental protection, no odor, no formaldehyde, light and climate resistance; It's easy to clean dust and paint after rain.
Intruduction
Co-extruded WPC Decking Floor is crafted from recyclable wooden flour, hdpe and terrific components. in assessment with the wpc robust decking, the hole one is lighter and hundreds an entire lot plenty much less costly. furthermore it can gift the handiest of a type sun solar sun sunglasses and the super fashion. the set up may be rapid and easy. it’s entire name is wooden plastic composite decking(wpc decking). and it performs with its notable water resistance, especially appropriate to be used in a wet environment. it is normally used for toilet, parks, gardens,swimming pool and so forth.

Spceification
Basic Description | ||
Name | Wood-plastic floor | |
Material | Wood,HDPE,Some other Additive | |
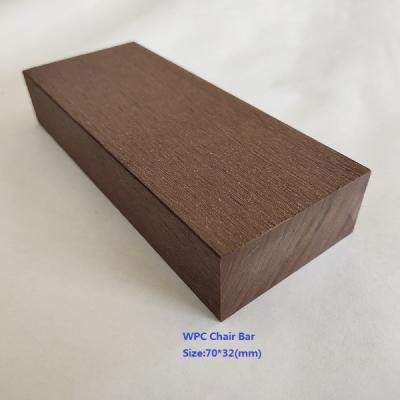
Specification | 105*20,140*25,145*21 also could customized for clients | |
Color | Teak,Light Grey,Coffee,Chocolate,Black | |
Certificate | CE,SGS,ISO | |
Classification | Hollow and Solid | |
Advantages | Wear-resisting | Water-proof |
Dam-proof | Fireproof | |
No-pollution | Environmental Friendly | |
Features
1. Eco-friendly made from recycled plastics and non-virgin wood.
2. Highly termite resistant.
3. Timber like finish for an excellent non-slip feel.
4. No staining or painting required.
5. Water and corrosion resistant, alkali-proof, moth-proof, stain-able and malleable, low pollution risk and odor-free.
6.Easy to install and clean.
7.Against UV.
Project Dispaly


Surface Treatment


Accessories

Tools for installation

Samples

Installation steps
 | 1. Lay keel on flat and hardened ground. |
2. The gap between two keels shall be controlled between 300mm and 350mm. |  |
 | 3.The keel is fixed on the ground with 3 expansion screws per meter. |
4.Install special fasteners for fixing the first floor. |  |
 | 5.Install the first floor. |
6.Install the second floor and secure with screws. |  |
 | 7.Continue to install the remaining floors in this way. |
8.Install floor edging and secure with screws. |  |


Related News

Submitted successfully
We will contact you as soon as possible